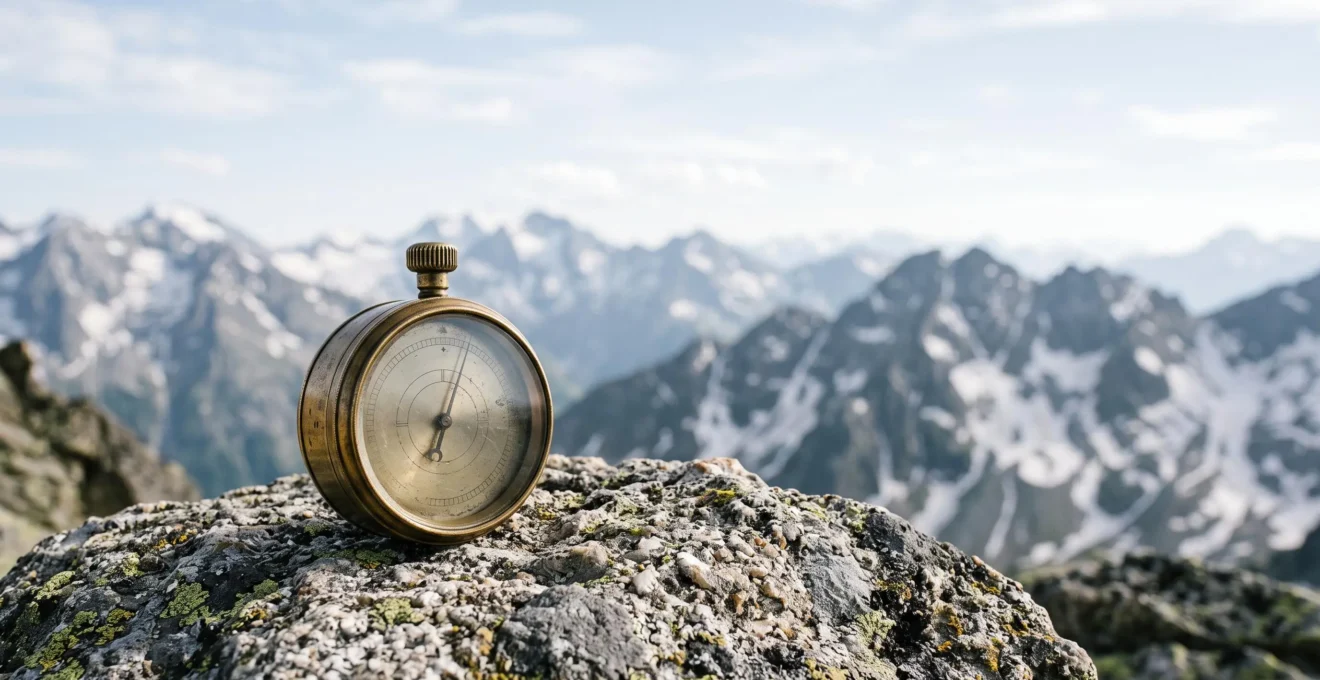
Contrary to what many fit hikers believe, surviving a US high-altitude trail isn’t about your cardio—it’s about mastering the science of acclimatisation and respecting threats you won’t find in the Brecon Beacons.
- Altitude sickness is a neurological response to low oxygen pressure, not a sign of poor fitness.
- Predictable afternoon thunderstorms in the Rockies are a primary killer; “summit fever” can be a fatal diagnosis.
- Wildlife encounters are managed by proactive strategy (bear spray and awareness), not luck or noise-makers.
Recommendation: Prioritise a slow, deliberate ascent and a strict turnaround time over the temptation to push for the summit.
As a guide in the Rockies, I see it every summer. Strong, capable hikers, often from the UK or Europe, arrive with impressive fitness, ready to conquer our “fourteeners” (peaks over 14,000 feet / 4,267 meters). You’ve tackled Snowdon, Ben Nevis, and Scafell Pike in all weather. You understand layering, navigation, and endurance. But here, the rules are different. Your enemy isn’t just the trail’s length or the weather’s bite; it’s the invisible pressure of physics and physiology.
The biggest mistake you can make is assuming your sea-level fitness translates directly to performance at two miles high. It doesn’t. The American high country demands a different kind of respect—a respect for the thin air that can swell your brain, the wildlife that sees you as an intruder, and the weather that materialises with shocking speed. We’re not just talking about a tougher walk; we’re talking about genuine, life-threatening risks that are often completely foreign to the hillwalking experience.
This isn’t to scare you away. It’s to prepare you. My job is to get people up and down these mountains safely, and that starts with shifting your mindset from that of a hillwalker to that of a high-altitude mountaineer. This guide is your briefing. It’s the ‘why’ behind the rules—the hard-earned knowledge that keeps you enjoying the views and off my rescue team’s call list.
To ensure your trip is memorable for the right reasons, we’re going to break down the critical safety considerations you must understand, from the moment you step off the plane to the moment you’re standing on the summit, and the crucial decision of when to turn back.
Summary: A Guide’s Briefing for High-Altitude US Hiking
- Why you risk severe headaches above 8,000 feet (2500m)?
- How to acclimatize in 48h before attempting a 14,000-foot summit?
- Bear spray or bear bell: what to choose for real protection?
- The mistake of thinking you can hike anywhere without a reservation
- When to turn back: the ‘midday rule’ to avoid summer lightning
- The mistake of sitting for 8 hours without stretching (and the risk of DVT)
- How to know if the ‘Vog’ level is dangerous for your lungs?
- How to Eat Healthy and Stay Fit During a Month-Long US Road Trip?
Why you risk severe headaches above 8,000 feet (2500m)?
The first challenge you’ll face isn’t a steep trail; it’s the air itself. Above 8,000 feet (approx. 2,500m), the partial pressure of oxygen drops significantly. Your body, accustomed to the thick, oxygen-rich air of sea level, struggles to cope. This isn’t a matter of fitness. I’ve seen Olympic athletes brought to their knees by it. The result is Acute Mountain Sickness (AMS), and its signature symptom is a splitting headache, often accompanied by nausea, dizziness, and fatigue. It’s your brain telling you it’s being starved of its most vital resource.
Ignoring this headache is the most dangerous thing you can do. It’s the early warning sign for two potentially fatal conditions: High-Altitude Cerebral Edema (HACE), where your brain swells, and High-Altitude Pulmonary Edema (HAPE), where your lungs fill with fluid. The incidence of AMS is not trivial; research shows that AMS affects between 25% and 43% of people ascending to these elevations without proper acclimatisation. It’s a physiological Russian roulette.
The risk increases dramatically with both speed and elevation. For a traveler coming directly from sea level, the danger zones are clearer than you might think, and they often start right at the trailhead of many famous Colorado hikes. The data from high-altitude medical experts provides a stark warning for out-of-state visitors.
| Elevation (feet) | Elevation (meters) | Approx. AMS Risk for Sea-Level Travelers |
|---|---|---|
| Below 8,200 ft | Below ~2,500 m | Rare |
| 8,200 ft (e.g., Denver area trailheads) | ~2,500 m | Symptoms become common; onset threshold |
| ~9,000–10,000 ft (Colorado mountain towns) | ~2,750–3,000 m | About 25% of out-of-state visitors affected |
| Above 9,800 ft (near many 14er trailheads) | Above ~3,000 m | Up to 75% of travelers may develop symptoms |
As the table illustrates, simply driving to a mountain town like Breckenridge (~9,600 ft / 2,926m) to spend the night puts a significant portion of visitors at risk. Rushing from the airport to a high-elevation trailhead is a recipe for a miserable, and potentially dangerous, start to your holiday. Respect the headache; it’s the mountain’s first and most important warning.
How to acclimatize in 48h before attempting a 14,000-foot summit?
So, how do we fight back against the physiology of thin air? The answer isn’t about being tough; it’s about being smart. The golden rule of high-altitude hiking is: hike high, sleep low. Your body does most of its acclimatisation work while at rest. Forcing it to adapt to a high sleeping elevation too quickly is the single biggest cause of AMS. Physicians who specialize in this field have a clear message for ambitious hikers.
In fact, high-altitude physicians note that people who skip a night at moderate elevation are up to four times more likely to develop symptoms. This isn’t a suggestion; it’s a statistical reality. Your first 48 hours in the state are the most critical period for setting yourself up for success. This is not the time for a “quick warm-up hike” to 12,000 feet. It’s a time for deliberate, strategic inactivity and hydration.
Hydration is key, but it’s more than just drinking water. The dry mountain air will dehydrate you rapidly through respiration alone. You need to replace fluids and also the electrolytes lost. Think of it as fueling your body’s adaptation process. The following checklist is your non-negotiable drill for the first two days at altitude. Follow it religiously.
Your 48-Hour Acclimatisation Drill
- Ascend Gradually: If you fly into Denver (5,280 ft), try to spend your first night there, not immediately in a mountain town at 9,000 ft.
- Avoid Alcohol: For the first 48 hours, avoid alcohol completely. It dehydrates you and can mask or mimic the symptoms of AMS.
- Maintain Caffeine Intake: If you are a regular coffee or tea drinker, continue. Caffeine withdrawal headaches can be confused with altitude headaches, complicating your self-diagnosis.
- Exercise Mildly: Your activity for the first 48 hours should be limited to gentle walks. Save your energy; your body is working hard just to breathe.
- Pre-Acclimatize if Possible: Getting two or more nights of exposure above 9,000 ft within the 30 days before your main ascent helps prime the body.
- Consider Medication: If a rapid ascent is unavoidable due to your itinerary, talk to your doctor back home about a prescription for acetazolamide (Diamox) to help speed acclimatisation.
Treating these first two days as a vital part of your expedition, rather than wasted time, is the hallmark of an experienced mountaineer. It’s the foundation upon which your entire high-altitude adventure is built.
Bear spray or bear bell: what to choose for real protection?
Once you’re acclimatised, the next reality of the American wilderness hits you: the wildlife is bigger and has teeth. In many of the most beautiful mountain areas, particularly the Rockies of Wyoming, Montana, and Colorado, you are hiking in bear country. Let me be blunt: a bear bell is, at best, a charming souvenir. At worst, it provides a false sense of security. Many studies suggest bears don’t associate the tinkling sound with humans or danger. The one tool proven effective in a defensive encounter is bear spray.
Bear spray is a high-concentration capsaicin aerosol designed to create a debilitating cloud that deters a charging bear. It is not a weapon; it is a last-resort safety tool, like a fire extinguisher. And just like a fire extinguisher, it’s useless if you can’t get to it. The number one mistake I see is people buying bear spray and then stashing it in their backpack. A charging grizzly bear can cover 50 yards in 3 seconds. You need that canister on your hip or chest, instantly accessible.
The core challenge for a British traveler is logistical. You cannot fly with bear spray, either in checked or carry-on luggage. It’s illegal and dangerous. This creates a dilemma: you must have it, but you can’t bring it with you. Fortunately, the outdoor community has developed solutions, especially in high-traffic areas like Yellowstone.
Case Study: Solving the Traveler’s Bear Spray Dilemma
For visitors flying into the Greater Yellowstone area, companies like Bear Aware have created a rental network. A traveler can land at Jackson Hole Airport, pick up an EPA-registered canister of bear spray right in the baggage claim, and use it for the duration of their trip. With over 15 drop-off points at local businesses and park locations, they can simply return it before flying home. This system eliminates the waste of buying a $50 canister for a week-long trip and the danger of illegally attempting to transport it or improperly disposing of it.
Whether you rent or buy upon arrival at an outdoor store like REI, the rule is the same: carry it, know how to use it, and have it ready. Make noise while you hike—talk, clap, shout “Hey bear!” in blind corners. The goal is to never have a surprise encounter. But if you do, bear spray is the only tool that gives you a fighting chance.
The mistake of thinking you can hike anywhere without a reservation
In the UK, the concept of “Right to Roam” is deeply ingrained. The idea that you can simply park your car and walk for miles is a cultural norm. Prepare for a system shock in the United States. Here, the vast, open spaces you see on postcards are often governed by a complex and increasingly restrictive web of permits, reservations, and timed-entry systems. Believing you can just show up and hike in a popular National Park is the quickest way to have your plans ruined.
Why the restrictions? It’s a simple matter of preservation. Parks like Arches, Zion, and Rocky Mountain National Park have seen visitation numbers explode. To prevent the trails from being loved to death, the National Park Service (NPS) and other land managers have implemented systems to control crowds. This can mean a reservation is required not just to camp, but to even drive your car into the park during peak hours. For iconic hikes like Angels Landing in Zion or the entire core of Rocky Mountain National Park, you need a separate, highly competitive permit secured months in advance via a lottery system on websites like Recreation.gov.
Your planning process must start online, months before your flight. Identify every park and major trail on your itinerary. Visit its official NPS or Forest Service webpage and look for a prominent “Plan Your Visit” or “Alerts” section. This is where you will find information on required permits. Do not rely on a blog post from two years ago; these systems change annually. Assume nothing is spontaneous. Your adventure in the American wilderness is not a spur-of-the-moment decision; it is a meticulously planned logistical operation.
When to turn back: the ‘midday rule’ to avoid summer lightning
Of all the objective dangers in the mountains, summer lightning is the most predictable and the most unforgiving. In ranges like the Colorado Rockies, a clear, blue morning sky is often a precursor to violent afternoon thunderstorms. The sun heats the ground, causing moist air to rise, build into towering cumulonimbus clouds, and unleash electrical fury, usually between 1 p.m. and 4 p.m. If you are on an exposed ridge or summit when that happens, you are the tallest object around—a human lightning rod.
This is where the most important rule of high-altitude hiking comes into play: the turnaround time. An expert mountaineer knows their summit is not the top of the mountain; it’s the car back at the trailhead. To get there safely, you must be off the summit and below the treeline well before the storms hit. In Colorado, the guide’s rule of thumb is the “noon rule”: if you are not on the summit by noon, you turn around, no matter how close you are. Some guides are even more conservative, setting a 11 a.m. turnaround.
Summer thunderstorms can roll in with unbelievable speed, and you’re on exposed terrain.
– Hiking For Her, Safe High Altitude Hiking
This requires immense discipline. “Summit fever”—the irrational desire to reach the top—is a powerful and dangerous force. The weather might look perfect at 11:30 a.m., but the clouds building on the horizon are a clear signal. As a guide, I’ve had to turn clients around within 100 vertical feet of a summit. They are angry in the moment, and thankful an hour later when hail and lightning are crashing down on the peak they just vacated.
Your hike should start before sunrise, often by 4 or 5 a.m., to give you the best chance of summiting and descending safely. Watch the sky. If you see clouds building vertically, hear distant thunder, or feel your hair stand on end from static electricity, you are already in extreme danger. Do not wait for the rain to start. Turn back immediately. A living hiker who turned back is an expert; a hiker who pushed on and got caught is a statistic.
The mistake of sitting for 8 hours without stretching (and the risk of DVT)
Your first high-altitude challenge doesn’t begin at the trailhead. It begins when you board your 8-to-10-hour flight from London or Manchester. Being crammed into an economy seat for a long-haul flight presents a very real medical risk that can sabotage your trip before it even starts: Deep Vein Thrombosis (DVT). DVT is a blood clot that forms in a deep vein, usually in the legs, due to prolonged immobility. This is exacerbated by the dehydrating cabin air and low cabin pressure.
Why does this matter to a hiker? A DVT clot can cause pain and swelling in the leg, making hiking impossible. Far more dangerously, a piece of the clot can break off, travel through your bloodstream, and lodge in your lungs, causing a life-threatening pulmonary embolism. The symptoms—shortness of breath, chest pain—can be tragically mistaken for altitude sickness upon your arrival, leading to a fatal delay in proper treatment.
Your “pre-acclimatisation” begins on the aircraft. You must treat the flight as an active part of your journey, not passive transport. The goal is to keep your blood moving. Every hour, you should:
- Get up and walk: Take a trip down the aisle to the lavatory, even if you don’t need to use it.
- Perform in-seat exercises: Flex and point your ankles repeatedly. Draw circles with your toes. Press your feet flat on the floor, then lift your heels, then lift your toes. Do calf raises while waiting in the aisle.
- Stay hydrated: Drink plenty of water and avoid alcohol and sleeping pills, which increase immobility.
- Wear compression socks: These specialized socks apply gentle pressure to your legs, helping to maintain blood flow.
This isn’t about comfort; it’s about arriving in a state where your body is ready for the challenges ahead, not fighting a hidden medical emergency. You cannot afford to start your high-altitude expedition with your body already compromised.
How to know if the ‘Vog’ level is dangerous for your lungs?
While most of the high-altitude challenges in the continental US revolve around oxygen and weather, your plans might take you to the unique volcanic summits of Hawaiʻi, such as Haleakalā on Maui or the mighty Mauna Kea on the Big Island. Here, you face a different, insidious respiratory threat: Vog. Vog is a form of air pollution that results when sulfur dioxide (SO₂) and other gases and particles from an erupting volcano interact with oxygen, moisture, and sunlight.
For a hiker, especially one with asthma or other respiratory sensitivities, vog is a serious concern. It can cause headaches, breathing difficulties, coughing, and sore throats. At high altitude, where your respiratory system is already working overtime to extract oxygen from the thin air, the added stress of inhaling acidic volcanic particles can be debilitating. The fine particles (PM2.5) in vog are particularly dangerous as they can penetrate deep into the lungs.
Unlike a thunderstorm you can see coming, vog can be an invisible blanket. Your safety depends on checking official sources before you hike. The primary resource is the Hawaiʻi Department of Health and their associated air quality monitoring network. Look for resources like the “Vog Measurement and Prediction Project” (VMAP) and local air quality data. These will provide color-coded advisories—green, yellow, orange, red—that indicate the current risk level. If advisories are in the orange or red (“unhealthy for sensitive groups” or “unhealthy”), and you have any respiratory issues, you must cancel your high-altitude plans for that day. Even for healthy individuals, strenuous exercise in poor quality air is unwise. Your lungs are your engine in the mountains; don’t foul the fuel.
Key Takeaways
- Altitude sickness is a function of ascent speed, not your physical fitness. Respect it with gradual acclimatisation.
- Bear spray is your only reliable defense in an encounter. For air travelers, renting it upon arrival is the smart, legal solution.
- Your summit day is dictated by the clock. A strict turnaround time (noon at the latest) to avoid afternoon lightning is a sign of expertise, not weakness.
How to Eat Healthy and Stay Fit During a Month-Long US Road Trip?
Your epic US hiking trip is likely more than just a single climb; it’s a road trip, a month-long expedition linking iconic parks. The challenge shifts from a single day’s peak performance to long-term sustainment. The vast distances between trailheads can be a nutritional wasteland of gas station junk food and fast-food chains. Living on crisps and sugary drinks for a month is the fastest way to drain your energy, compromise your immune system, and ruin your ability to perform on the trail.
As a guide, I see people’s fitness collapse not on the mountain, but in the driver’s seat. You must treat your road trip nutrition and fitness with the same seriousness as your hiking plan. The key is to turn your rental car into a mobile base camp. Your first stop in any new town shouldn’t be a motel, but a supermarket. Stock a cooler (a cheap styrofoam one will do) with healthy staples: fruits, pre-cut vegetables, yogurt, hummus, and lean sandwich meat. Use a large water jug and refill it, avoiding sugary sodas.
Staying fit between hikes is just as important. Long days of driving tighten your hip flexors and weaken your core—the exact muscles you need for stable climbing. At every fuel stop, take 10 minutes to do more than just stand. Perform walking lunges, leg swings, and torso twists. In the evening at your campsite or motel, do a simple routine of planks, glute bridges, and squats. This isn’t a workout; it’s active maintenance to counteract the negative effects of sitting. This disciplined approach to the “in-between” days ensures you arrive at each new trailhead not as a stiff, sore driver, but as a primed and ready hiker.
Now that you have the complete blueprint for staying safe, strong, and healthy from the flight out to the long drive home, it’s time to start planning your US mountain adventure with the respect and preparation it truly deserves.