In summary:
- Success isn’t just about what you pack, but embracing a self-reliant mindset before you go.
- Anticipate the “convenience gap”: no Wi-Fi, questionable water, and rough access roads are features, not bugs.
- Prioritize safety by understanding local wildlife, mastering basic skills like fire-building, and carrying the right gear.
- Your goal is to prepare for the reality of being off-grid so you can truly relax and disconnect.
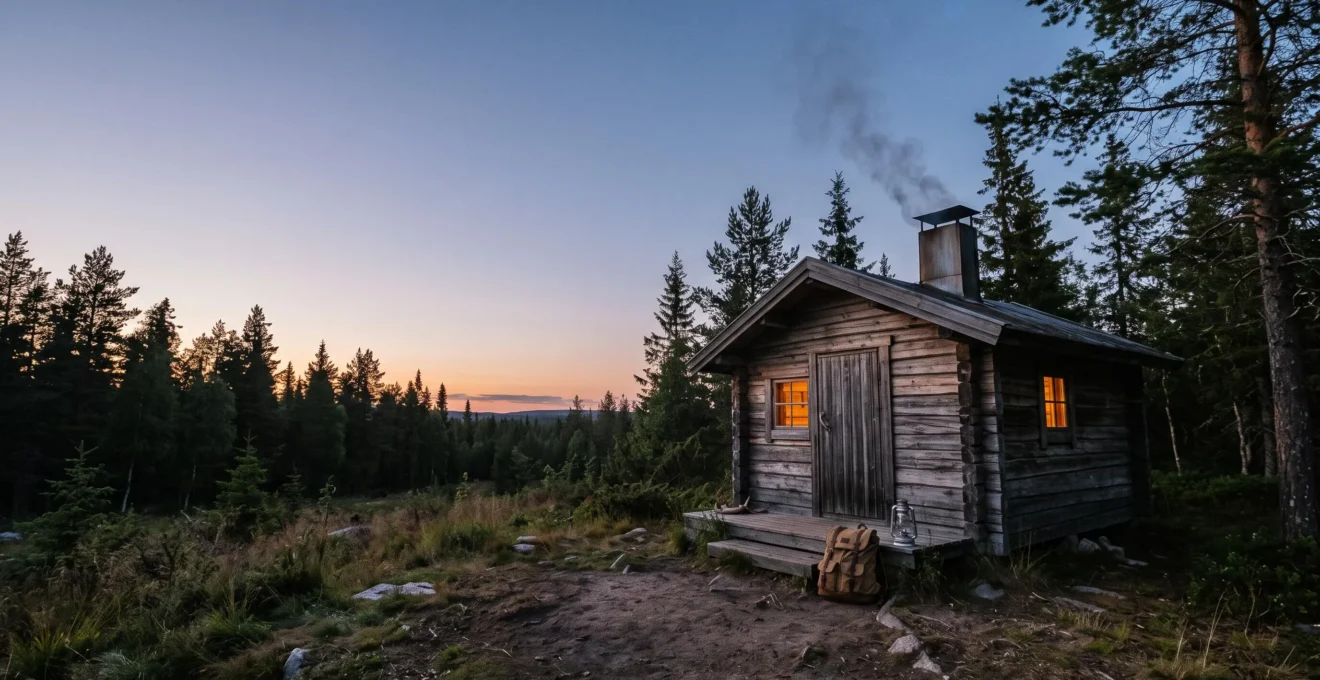
The dream of a remote cabin getaway is a powerful one: crackling fires, star-filled skies, and a profound sense of peace. For a city dweller, it’s the ultimate escape. But the very thing that makes it magical—the isolation—is also what requires a fundamental shift in preparation. Many packing lists will tell you to bring layers and a book. This is good advice, but it barely scratches the surface of what it means to be truly self-sufficient when your nearest neighbor is a mile away and there’s no cell service to call for help.
This isn’t about being scared; it’s about being prepared. The key to a successful, stress-free cabin trip lies in a crucial mindset shift. You must move from being a passive consumer of conveniences to an active, thoughtful problem-solver. It’s about anticipating the challenges of an off-grid environment—from questionable well water to uninvited wildlife encounters—and packing the solutions ahead of time. This guide is built on that principle of proactive preparedness.
Instead of a simple checklist, we’ll explore the critical “why” behind your packing decisions. We’ll cover how to manage a world without Wi-Fi, the realities of sharing space with bears, and the skills you need to stay warm, hydrated, and safe. By focusing on these core pillars of self-reliance, you’ll pack not just gear, but confidence, ensuring your rustic retreat is rejuvenating, not riddled with anxiety.
This article provides a structured approach to help you prepare for the most common challenges of a rustic cabin stay. The following sections will guide you through each key aspect of your preparation.
Summary: Essential Packing Guide for Your Remote Rustic Cabin
- No WiFi or 4G: how to download your maps and entertainment before you arrive?
- Why you should never leave food in your car in bear country?
- How to light a wood stove without smoking out the cabin?
- The mistake of not bringing drinking water if the cabin only has a well
- 4×4 or sedan: which vehicle for accessing a dirt road in the rain?
- Bear spray or bear bell: what to choose for actual protection?
- Where to find free drinking water to avoid buying 50 plastic bottles?
- How to Hike High-Altitude US Trails Safely Coming from Sea Level?
No WiFi or 4G: how to download your maps and entertainment before you arrive?
The promise of a “digital detox” is alluring, but arriving unprepared can turn it into a source of stress. Your phone, normally a gateway to the world, becomes a simple camera. The most critical failure point for first-timers is navigation. Relying on a live GPS that requires a data connection is a recipe for getting lost. Before you even leave your driveway, you must download offline maps of the entire area, including the final stretch to the cabin and any trails you plan to hike. Apps like Google Maps, AllTrails, and Gaia GPS all offer this feature. It’s a non-negotiable part of your digital preparation.
Beyond navigation, consider your entertainment and emergency communication. Download movies, playlists, podcasts, and e-books. The quiet of the woods is wonderful, but so is a good film on a rainy evening. Most importantly, if your cabin is truly remote, you are your own emergency service. Renting or buying a handheld satellite communicator (like a Garmin inReach or ZOLEO) is a wise investment. These devices allow you to send and receive text messages via satellite and have an SOS button to contact emergency responders, providing a crucial lifeline that works far beyond the reach of cell towers.
This preparation isn’t about failing the digital detox; it’s about setting yourself up to enjoy it safely. It’s the modern-day equivalent of packing a compass and a map. By creating a self-contained digital world, you ensure technology serves you, even when you’re completely off-grid.
As the image suggests, being prepared with the right device provides a sense of calm self-reliance, allowing you to connect with the wilderness without being completely cut off from help. This is the cornerstone of a safe and enjoyable off-grid experience.
Why you should never leave food in your car in bear country?
In the city, your car is a secure metal box. In bear country, it’s a food-scented lunchbox on wheels. This is one of the most critical mindset shifts for visitors. A bear’s sense of smell is legendary—estimated to be seven times stronger than a bloodhound’s. That’s potent enough to detect a single forgotten apple core, a sealed bag of chips, or even the lingering scent from a fast-food wrapper in your trash. Leaving food, scented toiletries (like toothpaste or deodorant), or a cooler in your car overnight is an open invitation for a visit you don’t want.
The consequences range from inconvenient to dangerous. A curious bear can easily peel open a car door, shatter a window, or shred an interior in minutes, causing thousands of dollars in damage. More importantly, this habituates the bear. A bear that gets a “food reward” from a car learns to associate vehicles and humans with an easy meal. This habituated bear becomes progressively bolder and more dangerous, often leading to its relocation or, tragically, its euthanasia by wildlife officials. “A fed bear is a dead bear” is a somber truth in these areas.
The correct protocol is to remove every single item with a scent from your vehicle immediately upon arrival. This includes all food, coolers, garbage, pet food, and toiletries. Store these items inside your hard-sided cabin. If the cabin has a designated bear-proof locker or a history of bear break-ins, ask the owner for specific instructions. By keeping a “clean car,” you protect your property, your safety, and the lives of the wild animals whose home you are visiting.
How to light a wood stove without smoking out the cabin?
Few things are as cozy as the heat from a wood-burning stove. But for the uninitiated, the first attempt can quickly fill the cabin with acrid smoke, setting off alarms and creating a miserable experience. The common mistake is to build a fire from the bottom up, with paper and kindling at the base. This method often struggles for air and forces smoke to travel up through the cold wood, causing it to cool, condense, and billow out into the room. The secret to a clean, smoke-free fire is counter-intuitive: build it from the top down.
A top-down fire is more efficient, produces far less smoke, and is surprisingly easy to master. By lighting the fire at the top, the flames burn down cleanly, pre-heating the flue and creating a strong draft that pulls smoke up and out. The gasses released from the logs below are ignited as they pass through the flames, resulting in a more complete and hotter combustion. This method is not just for beginners; seasoned wood-burners swear by its consistency and reliability.
As the experts at the Wood Heat Organization note, this technique transforms fire-building from a frustrating guessing game into a predictable science. As they state in their guide, “Top-Down Fever”:
You’ll find that your fires will become consistent, predictable performers with fewer false starts
– Wood Heat Organization, Top-Down Fever, Wood Heat Organization
Mastering this simple skill is a huge step in your self-reliance journey. It’s the difference between fighting with your heat source and confidently commanding it, ensuring your cabin stays warm and your air stays clear.
Your Action Plan: The Perfect Top-Down Fire
- Lay the largest, well-seasoned logs flat on the bottom of the firebox as your base.
- Stack progressively smaller split logs on top, criss-crossed to allow airflow.
- Add a layer of kindling, then thin sticks or twisted paper on the very top.
- Light the top layer only and let the fire burn downward on its own.
- Leave the stove door slightly open until flames establish, then close gently to control draft.
The mistake of not bringing drinking water if the cabin only has a well
At home, safe drinking water is a given. At a remote cabin, it’s a question you must ask. Many rustic properties rely on private well water, which isn’t subject to the same rigorous federal testing and treatment standards as municipal water supplies. While the water may be perfectly safe, it could also contain bacteria, nitrates, or other contaminants that can cause gastrointestinal distress—the last thing you want on a vacation. Assuming the well water is fine without confirmation is a gamble.
The risks are not just theoretical. According to health officials, untested private water sources are a significant source of illness. In fact, the CDC estimates that private well water contributes to over four million cases of acute gastrointestinal illness in the United States each year. The property owner should be able to tell you when the well was last tested and for what, but for a short-term stay, the safest and simplest strategy is to remove all doubt.
Your primary water plan should be to bring your own. A few large, multi-gallon jugs of store-bought water for drinking and cooking are an easy and inexpensive form of insurance. For a secondary system, pack a portable water filter (like a Sawyer Squeeze or a Lifestraw filter) or water purification tablets. These are lightweight, effective, and provide an excellent backup if you run through your initial supply. The cabin’s well water can then be used for washing dishes and personal hygiene without worry. This two-tiered approach ensures you stay hydrated and healthy, no matter what’s in the pipes.
4×4 or sedan: which vehicle for accessing a dirt road in the rain?
The final mile of your journey to a remote cabin is often the most challenging. Paved highways give way to gravel tracks, which can devolve into rutted dirt paths. While perfectly navigable in dry weather with a standard sedan, a sudden downpour can transform that same road into a slick, muddy trap. The question of whether you need a 4×4 or an all-wheel-drive (AWD) vehicle is one of the most practical considerations for a cabin trip.
The answer depends entirely on the specific access road and the potential weather. Before you book, ask the cabin owner for an honest assessment. Use phrases like: “What is the road like after a heavy rain?” and “Have guests in regular cars ever had trouble?” Look at satellite views of the road on your map to get a sense of its steepness and condition. If the description includes words like “rugged,” “unmaintained,” or “high clearance recommended,” take it seriously. It’s far better to rent an SUV for the weekend than to spend hours waiting for a tow truck that may not be willing to venture down a muddy track.
Even with the right vehicle, a few preparations are wise. Ensure your tires are in good condition and properly inflated. Pack a small shovel and a set of traction mats—they can make all the difference if you get stuck in a soft spot. The most important tool, however, is judgment. If a road looks too muddy or a water crossing seems too deep, don’t risk it. It’s better to park in a safe spot and walk the last stretch than to get your vehicle hopelessly mired in mud.
The journey to the cabin is part of the adventure, but it requires thoughtful preparation. A vehicle with good clearance and traction provides peace of mind, ensuring you arrive safely and without the stress of getting stuck.
Bear spray or bear bell: what to choose for actual protection?
The debate between bear bells and bear spray is a classic one in outdoor circles, but for anyone concerned with actual safety, the science is clear. Bear bells—the small jingles some hikers attach to their packs—are passive noise makers. The theory is that they alert bears to your presence, preventing surprise encounters. However, there is no scientific evidence to support their effectiveness. In windy conditions or near rushing water, their sound doesn’t carry. Worse, some theories suggest the tinkling sound can attract curious bears. Relying on a bear bell for protection is a dangerous mistake.
Bear spray, on the other hand, is an active deterrent designed for a worst-case scenario: a close-range encounter with an aggressive or defensive bear. It is a powerful pepper spray formulation that creates a large, atomized cloud, irritating the bear’s sensitive eyes and respiratory system and forcing it to retreat. Its effectiveness is well-documented. A landmark 2008 review of bear attacks in Alaska found that bear spray had a 92% success rate in stopping undesirable bear behavior. It is the tool overwhelmingly recommended by wildlife experts and park rangers for anyone venturing into bear country.
It’s also a humane tool. As leading bear researcher Tom Smith has pointed out, it’s designed to deter, not harm. In his foundational study, he notes:
No bear spray has ever been reported to kill a bear.
– Tom Smith, Brigham Young University, Efficacy of Bear Deterrent Spray in Alaska (2008 study), cited in Wikipedia
Choosing bear spray is a sign of a prepared and responsible mindset. Buy a can, learn how to carry it on your hip (not in your backpack), and practice deploying it with an inert training can. Hope you never have to use it, but carry it as your most important piece of safety equipment.
Key Takeaways
- True preparedness for a cabin trip is a mindset shift from urban convenience to rural self-reliance.
- Your safety depends on respecting wildlife, especially by managing all food and scented items in bear country.
- Mastering fundamental skills like building a fire or understanding your water source is as important as any gear you pack.
Where to find free drinking water to avoid buying 50 plastic bottles?
While bringing your own water is the safest bet, lugging dozens of single-use plastic bottles is environmentally costly and cumbersome. A more sustainable and self-reliant approach involves a multi-pronged strategy that combines smart sourcing with effective treatment. Your goal should be to create a resilient system that provides safe drinking water for your entire trip while minimizing plastic waste.
Start with a foundation of bulk water. Instead of a 24-pack of small bottles, purchase two or three 5-gallon reusable jugs from a supermarket. Many stores have refill stations where you can fill them with filtered water for a fraction of the cost of bottled water. This provides your main supply for drinking and cooking. This single choice dramatically reduces your plastic footprint and ensures you have a substantial reserve of known, safe water.
Next, equip yourself to process water from other sources. A high-quality portable water filter is an essential piece of kit. Gravity filters are excellent for a cabin setting, allowing you to process a large volume of water with minimal effort. You can fill the “dirty” bag from a nearby creek, a clear lake, or even the cabin’s well water if you’re unsure of its quality, and let it filter into a clean reservoir. For hiking and day trips, a smaller squeeze filter or a UV-sterilizing pen provides on-the-go purification. This combination of bulk storage and on-site treatment makes you completely water-independent, free from the cycle of buying and discarding plastic.
How to Hike High-Altitude US Trails Safely Coming from Sea Level?
Many of the most spectacular cabins in the US are nestled in mountain ranges like the Rockies or the Sierra Nevada, offering access to breathtaking high-altitude trails. For a visitor coming from sea level, however, jumping directly into strenuous activity above 8,000 feet (2,500 meters) can be a significant shock to the system. The lower atmospheric pressure means less oxygen is available with each breath, which can lead to Acute Mountain Sickness (AMS). Symptoms range from a mild headache and nausea to more severe, life-threatening conditions. Understanding and respecting the process of acclimatization is crucial.
The most significant risk factor is ascending too quickly. Your body needs time to adapt. For instance, research shows that rapidly ascending to altitude by air, versus a gradual ascent on foot or by driving, results in a 4.5 times higher incidence of AMS. If your cabin is at high altitude, plan to take it easy for the first 24-48 hours. Drink plenty of water, avoid alcohol, and don’t plan a major hike for your first full day. Let your body adjust. A good rule of thumb is “hike high, sleep low,” meaning you can ascend to a higher elevation during the day but should return to a lower altitude to sleep.
The prevalence of AMS varies greatly depending on your destination and how you get there, highlighting the importance of a gradual approach. The data shows a clear correlation between rapid ascent and higher risk.
| Destination | Typical Ascent Profile | Reported AMS Prevalence |
|---|---|---|
| Colorado ski areas | Drive-in, moderate altitude | ~25% |
| Himalayas (general trekking) | Gradual multi-day trek | ~50% |
| Mount Everest region | Direct flight arrival | ~85% |
Listen to your body. If you develop a persistent headache, dizziness, or shortness of breath at rest, it’s a sign to stop, rest, and descend if symptoms don’t improve. Preparedness here isn’t about gear; it’s about knowledge and patience.
By embracing this mindset of thoughtful preparation, you transform potential problems into solved-in-advance non-issues. Your cabin trip becomes less about worrying and more about enjoying the peace, quiet, and profound beauty of the wild. Now you’re ready to pack with purpose and confidence.